You’re in a client meeting—but not just any client meeting. It’s the fourth client meeting you’ve had to review new design concepts after spending countless hours searching for the perfect images, rewriting copy, and trying endless color combinations. Everyone is exhausted, and the client still isn’t sold on the idea. How do you get them to see what you see, without wasting extra time?
You have two choices:
- Let the project continue its course through several concepts, slowly wringing out the creativity with each run.
- Take some time to oil up those creative gears, and consider how you initially approached the project.
Option one sacrifices quality, but option two sacrifices time. So if you choose option two, how do you find the time to revisit the drawing board?
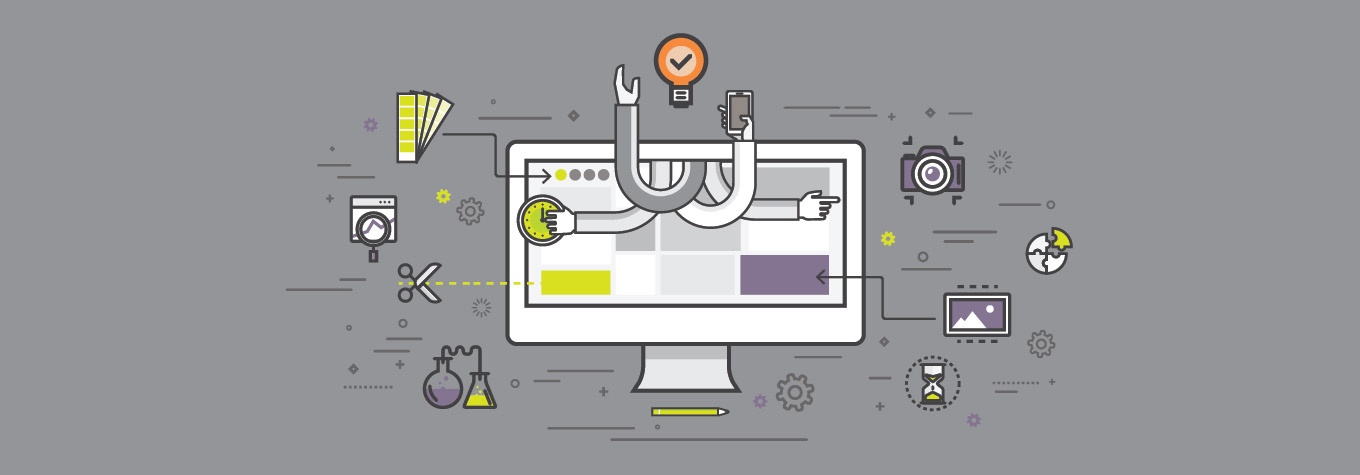
The answer is simple: a mood board/style board, which is defined as an arrangement of images, materials, pieces of text, etc., intended to evoke or project a particular style or concept.
Every creative, whether they are a graphic designer, architect or hobbyist, has a process. Mood boards are an exploratory and cost-effective way to plan in the early phases of your process, and can actually save you time and confusion later.
A design professor once told me that planning, ideation, sketching and gathering inspiration are 80 percent of the project. The actual execution only takes up the remaining 20 percent. By laying a solid, creative foundation with your mood board, the execution becomes less time-consuming.
Don’t just continue creating designs you might end up tossing, or hand over a regurgitated design just to get it out the door. Instead, sell the client on the look and feel of a project with a mood board by discussing the essence of the project and how it will make the audience feel.
For instance, you could speak to a web navigation that worked well for another client by referencing an example on the mood board. You could show them how you plan to use a muted palette to make their colorfully packaged products jump off the page, without designing even a spread of a catalog. But keep in mind, your mood board is flexible. Use it as a guide as you’re designing. When meeting with the client, note their thoughts on the mood board and explain why things worked or didn’t work. Use this feedback as you continue to create mood boards, and they’ll improve the more you make. Save the unused mood boards the client doesn’t pick and build a library you can pull from later.
Don’t be limited by the accessibility of ideas on Google or Pinterest—those ideas have already been done. Appreciate those ideas and study their strengths, but remember, a solid mood board is a combination of different elements. It shouldn’t be too strict or too vague, and should by no means be used as a carbon copy to imitate other designs.
As creatives, we have a constant mental mood board. See some cool retro colors on a mural while driving to your kid’s game, or love the wood texture of the bar at your favorite brewery? Use those elements as inspiration on your mood boards.
Here’s how to get started:
Snap pictures of inspiration with your phone when you’re out and about. Organize them into albums based on certain moods or styles to make them easy to access and integrate into your next mood board.
You can also use an online generator such as Niice or gomoodboard.
Design a “fill-in-the-blank” template with designated areas for certain types of inspiration to plug in items and save time when making multiple mood boards.
I encourage you, though, to let go of the technology dependency, even just once, and take a scissors-and-paste approach to your mood board. Pulling all these pieces out of your head and making something tangible is therapeutic, creative, and jump-starts the design process.


